Thin client with Debian and xrdp
Install Debian 9 with Remmina to connect to xrdp
If you’re anything like me, you’ll probably have at least one old PC or laptop collecting dust somewhere in your house. There are many ways to give new life to these devices, but one very simple option is to use them as thin clients to remotely access a more powerful and modern machine.
Server
Let’s configure our PC so it will act as the server for us to connect to. Assuming we already have Debian installed, we will just need to install the server software.
xrdp
For this purpose, we will use xrdp which is an open source server for the RDP protocol. To install it just run:
sudo apt install xrdp
Securing the connection
Standard RDP Security, which is not safe from man-in-the-middle attack, is used. The encryption level of Standard RDP Security is controlled by crypt_level.
– Manpages
We definitely should do something about this so we will use TLS as the security layer.
The necessary certificates were generated automatically during the installation of the ssl-cert package but we need to add user xrdp to this group so it can read the private key:
sudo adduser xrdp ssl-cert
Now let’s edit file /etc/xrdp/xrdp.ini and change these:
security_layer=negotiate
certificate=
key_file=
To these:
security_layer=tls
certificate=/etc/xrdp/cert.pem
key_file=/etc/xrdp/key.pem
And restart the service:
sudo service xrdp restart
With this, our PC is ready to be accessed remotely by the thin client.
Client
We can now go ahead and set up the box that will act as thin client.
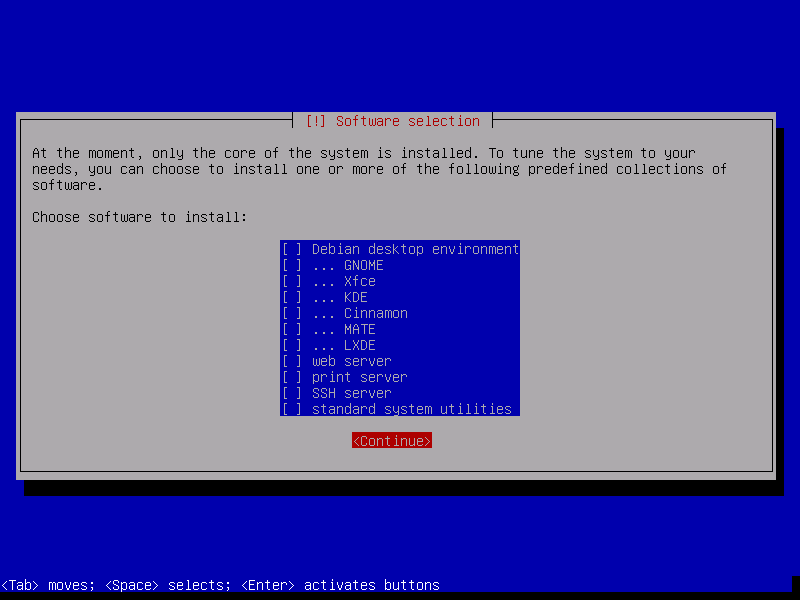
For this we just need a bare bones Debian 9 (stretch) install with only a few extra packages. Therefore, we will make sure nothing is selected during the Software selection step of the installation process:
Afterwards, once we have booted into Debian, we can install a display manager and a window manager so we can have a simple graphical environment. We will use LightDM and Openbox respectively, and tint2 as a lightweight taskbar:
sudo apt install lightdm openbox tint2 xterm
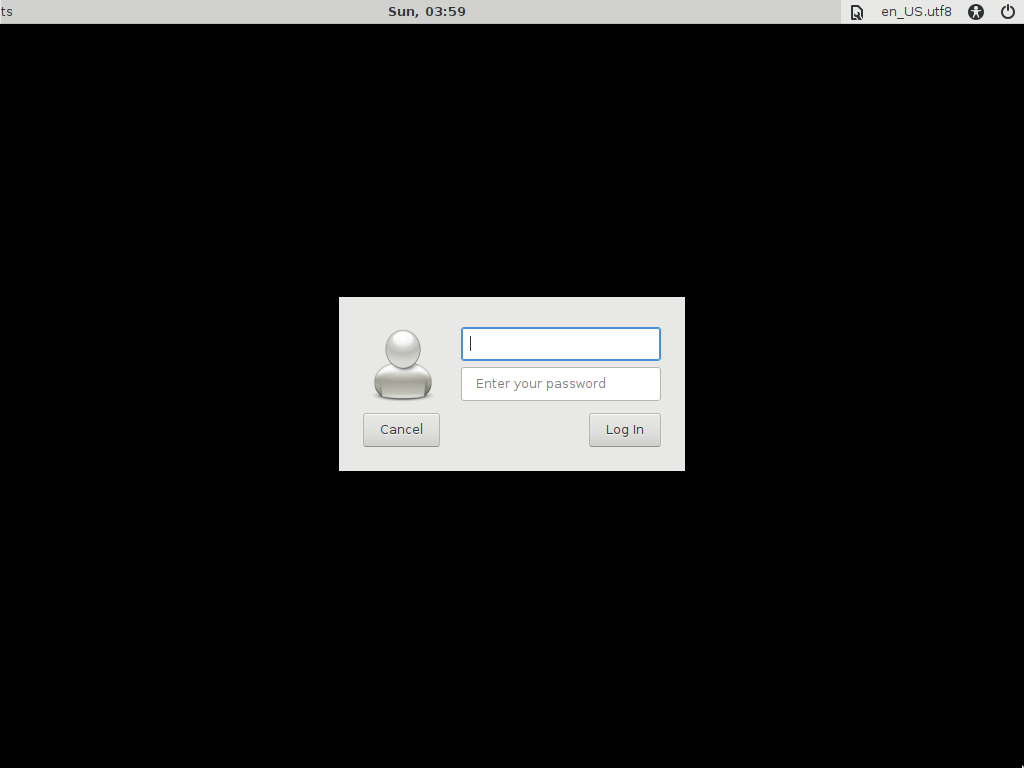
After a reboot, we will be presented with the login screen:
Let’s configure Openbox so it launches tint2 after we login. We need to copy the default configuration files for Openbox to our home directory so we can modify them:
mkdir -p ~/.config/openbox && cp /etc/xdg/openbox/* ~/.config/openbox
Then we will edit the file ~/.config/openbox/autostart to add, at the end, the
following lines:
# Launch taskbar
tint2 &
Remmina
To access our server remotely, we will use Remmina as it supports several protocols (RDP, VNC, SSH, NX, XDMCP, etc.):
sudo apt install remmina
Once the installation finishes, we will again edit Openbox’s autostart file to
launch Remmina:
# Start Remmina
remmina &
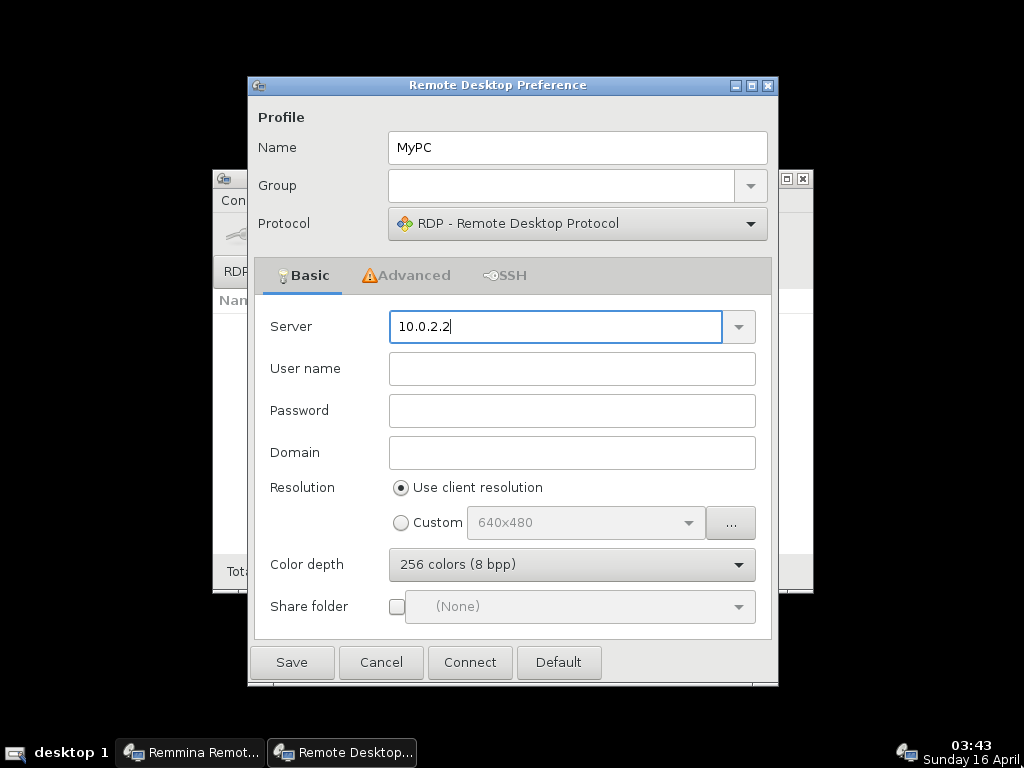
After we login, we can create a new connection in Remmina by pressing Ctrl+N. We just have to enter a name for the connection and the address or hostname of our server:
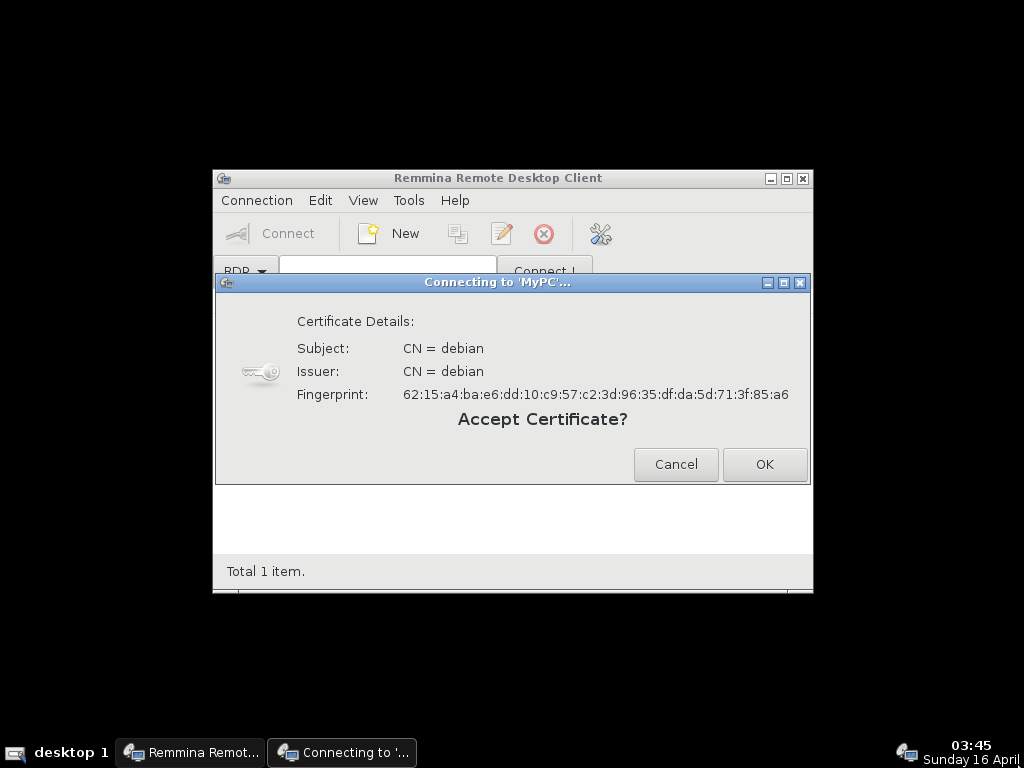
After we click on Connect, the connection will be saved and we will be asked to accept the server’s TLS certificate:
If we accept it, we will get to the login screen for our remote server:
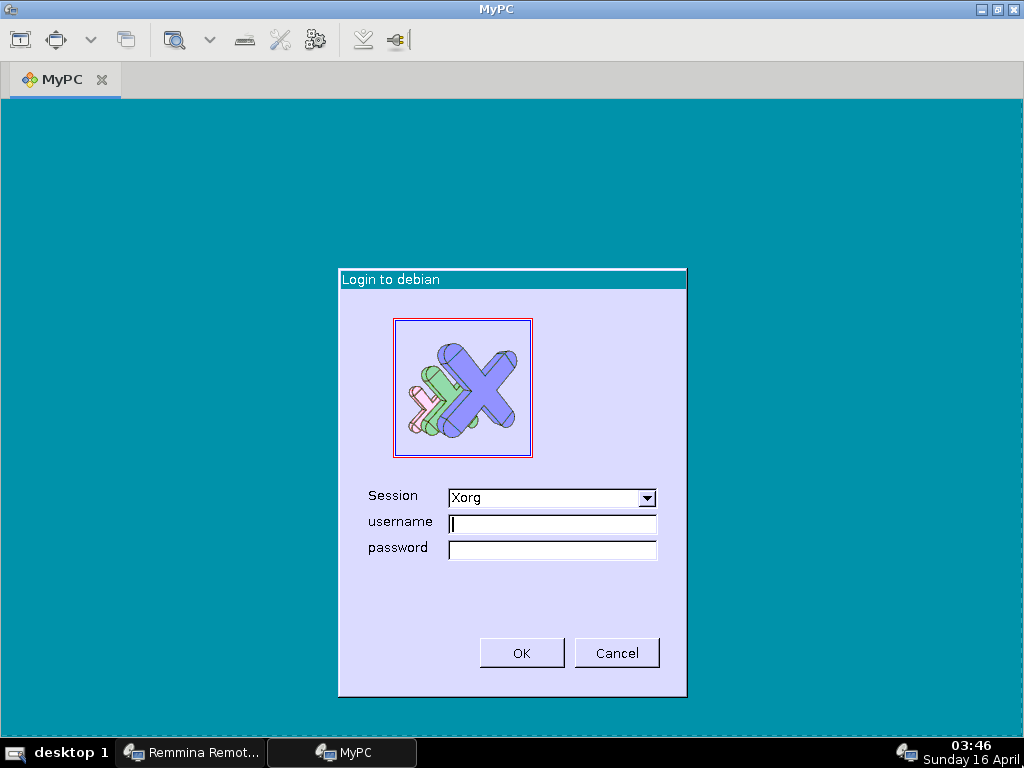
Here we just need to enter the username and password for our remote server and we will have access to the desktop. By pressing R_Ctrl+F we can make it fullscreen for a seamless experience:
Show remote login screen after local boot
We can configure our Debian thin client to automatically login and make Remmina launch the connection to our remote server so we are presented with the remote login screen.
First we will configure LightDM to automatically login with our local user. For
this, we need to edit the file /etc/lightdm/lightdm.conf as root and configure
our username in the Seat configuration section:
[Seat:*]
autologin-user=agus
Now, we need to find out the filename for our connection as it was saved by
Remmina. Connections are either in $HOME/.remmina, for older versions, or in
$XDG_DATA_HOME/remmina for newer ones.
~/.remmina
├── 1492192074855.remmina
└── remmina.pref
Then we just have to modify the last line of Openbox’s autostart file
accordingly:
# Start Remmina
remmina -c ~/.remmina/1492192074855.remmina &
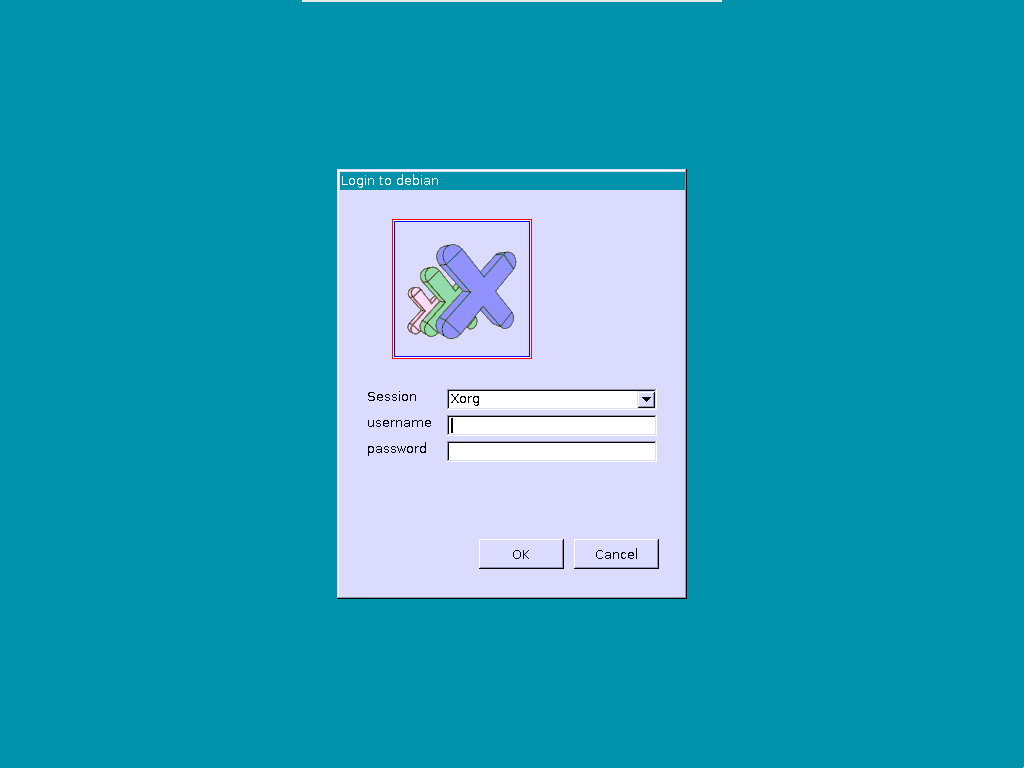
If we reboot now, we will connect directly to the remote machine and be presented with its login screen:
Login to remote server after local login
We can configure Remmina to save the remote login credentials and log us into the server automatically.
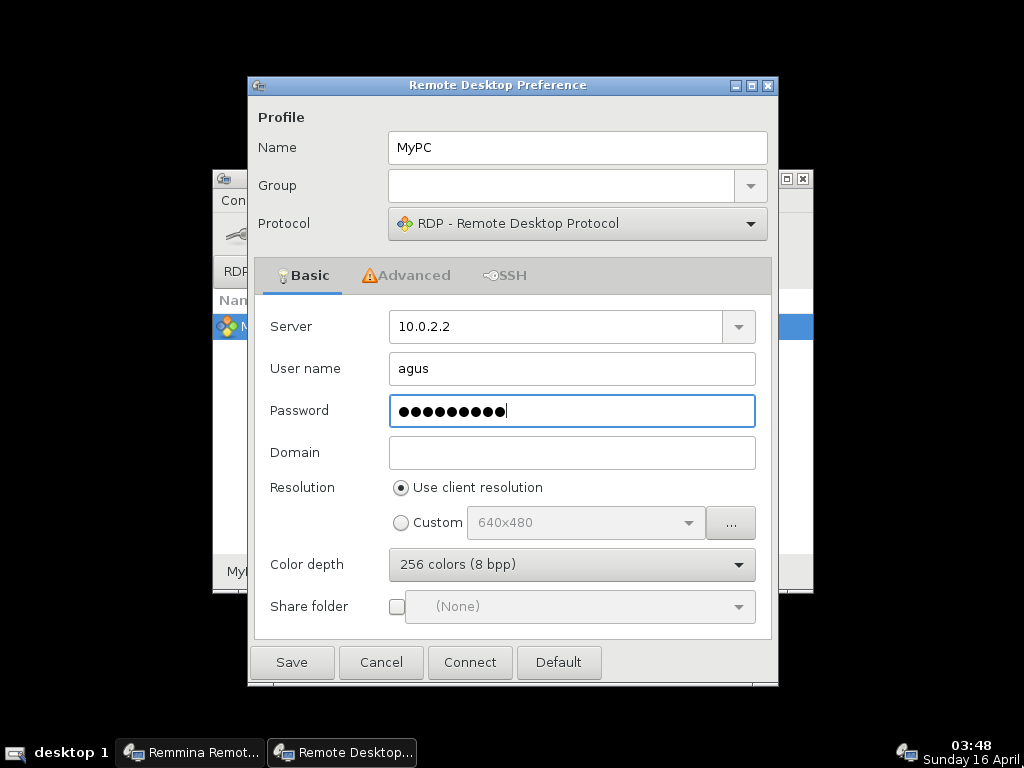
For this, we need to save the username and password on the connection profile:
However, for extra security, we should install GNOME plugin for Remmina so the password is stored in GNOME keyring:
sudo apt install remmina-plugin-gnome seahorse
We will need to logout and log back in so the keyring is generated transparently using our local password.
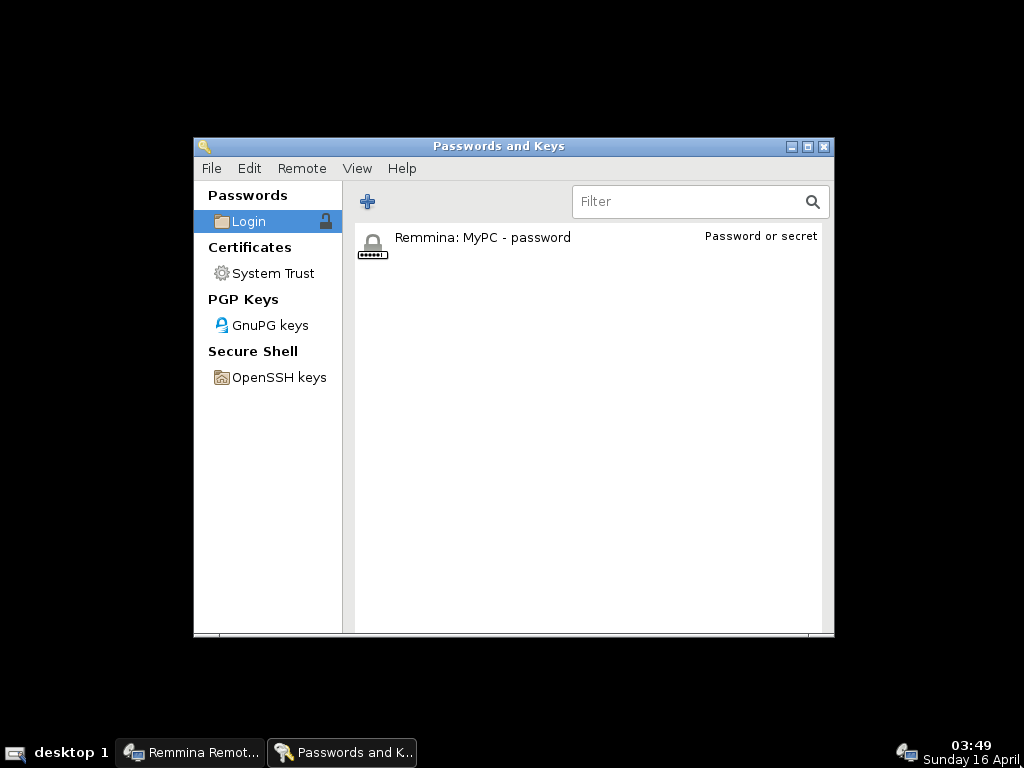
Now, if we modify the connection and add the credentials, the password will be stored in the keyring for safekeeping:
Since our local password is needed to unlock the keyring to retrieve the remote
password, we will have to revert the changes in /etc/lightdm/lightdm.conf:
[Seat:*]
#autologin-user=agus
Otherwise, it will ask us to unlock the keyring before Remmina can connect to our remote server.
Tidying up
Since this box won’t be doing much work other than running Remmina to connect to our server, we can remove some unneeded packages. Things like job scheduling and message logging are pointless:
sudo apt purge --auto-remove anacron cron rsyslog
As an added note, if we plan to connect to a wireless network, we might want to install NetworkManager and its applet to make it easier for us:
sudo apt install network-manager-gnome
However, since NetworkManager uses GNOME keyring, we won’t be able to automatically login locally in a seamless way.
Conclusion
As we have seen, using an old PC or laptop as a thin client is a great way to give new life to these devices.
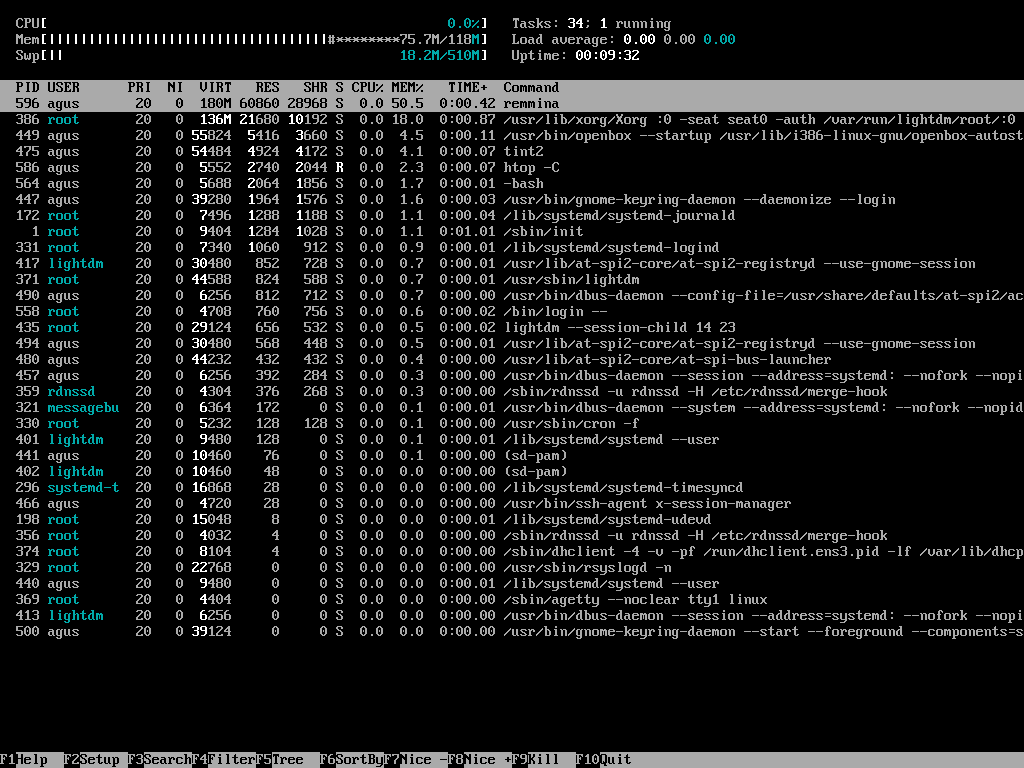
The hardware requirements are very low since it will be mostly using the network. You can see the resource usage in a system with only 128 MB of RAM:
Further reading
- Problem found with Debian systems running systemd · Issue #190 · neutrinolabs/xrdp · GitHub
- TLS security layer · neutrinolabs/xrdp Wiki · GitHub
- Remmina Usage FAQ · FreeRDP/Remmina Wiki · GitHub
- Audio Output Virtual Channel support in xrdp · neutrinolabs/xrdp Wiki · GitHub
- TransparentEncryptionForHomeFolder - Debian Wiki
- Linux Terminal Server Project - Welcome to LTSP.org
- ThinStation by Donald A. Cupp Jr.
